Start with what is behind the wall
The soil immediately behind a retaining wall may contain drainage material, a pipe, structural reinforcement or footings. It is not automatically an empty planting bed. Before choosing plants, find the wall drawings and any construction photographs. Mark the areas that need to remain available for the wall system and maintenance. If the arrangement is unknown, ask for advice before digging into it.
Separate the structural backfill from the planting area in your plan. The designer may allow a planting layer in a particular arrangement, but that does not mean the entire space can be replaced with rich garden soil. Ask how the planting zone and drainage zone meet, how soil stays out of drainage materials, and how the final surface directs water. Keep that detail with the landscaping scope so it is not lost between trades.
For an existing Pakenham garden, begin with a sketch rather than removing established plants immediately. Record the wall face, top, outlets, visible access points and irrigation lines. Note whether the bed has been topped up repeatedly over the years. A tidy new planting scheme should preserve or restore the intended wall conditions, not conceal an uncertain arrangement beneath another load of soil and mulch.
Choose plants by mature habit and maintenance needs
A nursery pot tells you very little about the space a plant will occupy later. Ask about mature height, spread, root behaviour, pruning needs and suitability for the actual exposure. A narrow upper bed may look generous when planted with small specimens but become inaccessible when they mature. Compare the eventual canopy with the wall, fence, path and any drain access points on your drawing.
Avoid relying on broad labels such as native, shallow rooted or low maintenance as a complete specification. Plants within those groups behave differently, and local growing conditions matter. Show a horticulturist the wall arrangement, available soil volume, sun, wind and irrigation proposal. Where a tree is proposed close to a retaining structure, coordinate suitable arboricultural and structural advice rather than choosing a generic distance from an online list.
Think about removal as well as growth. A plant that can only be pruned while standing on the wall creates a recurring access problem. A large shrub that hides the entire wall face can make inspection difficult. Prefer a layout in which normal garden work can happen from a stable surface and the wall can still be seen. The planting should suit the space that genuinely remains after these practical needs are included.
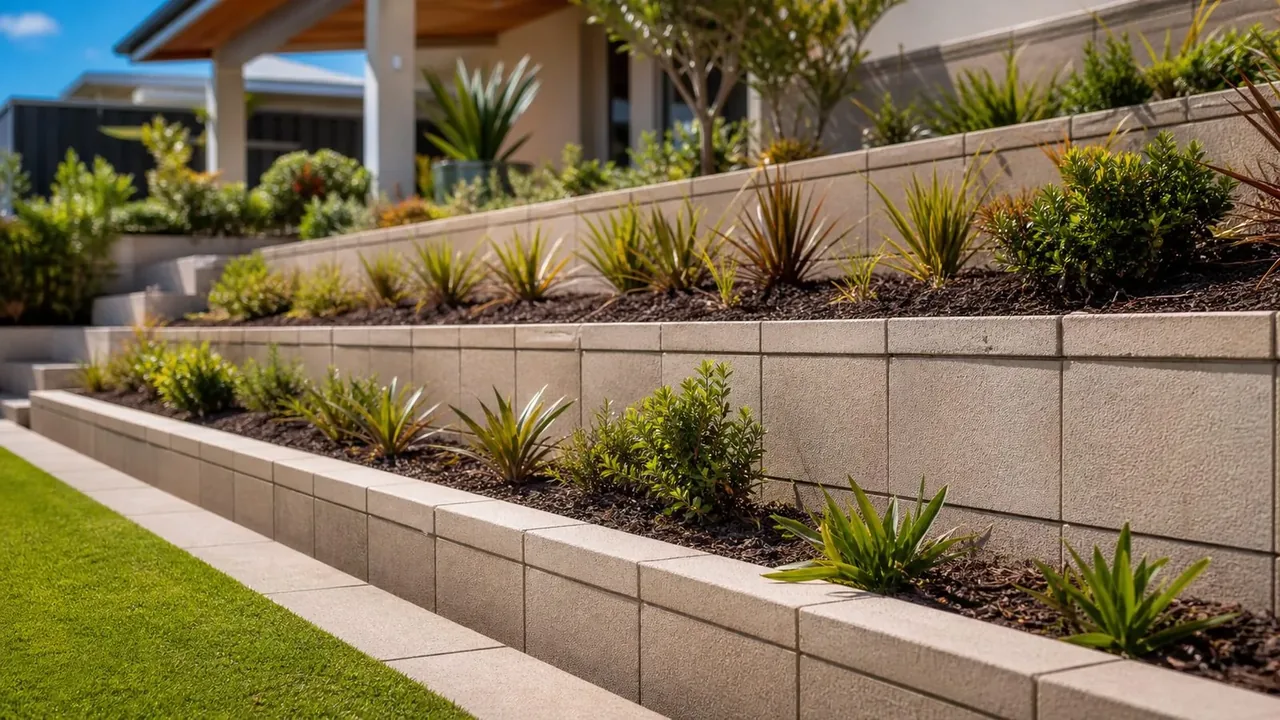
Keep garden watering separate from wall drainage
Irrigation is intended to supply the planting area. Wall drainage is intended to manage water within the retaining arrangement. They should not be treated as interchangeable systems. A garden that is watered heavily beside an unknown wall drain can create a problem that a new pipe alone does not solve. Plan where irrigation water goes and how faults will be noticed, particularly when the bed is out of sight from the house.
Locate irrigation valves, joints and controls where they can be inspected and serviced. Ask the installer to show the route on the garden plan and keep it clear of protected wall components. Drip irrigation may offer useful control for a bed, but it still needs appropriate selection, placement and maintenance. A buried leak can remain unnoticed regardless of the type of emitter used above it.
Set watering according to plant needs and observed soil conditions, with advice suited to the garden. Do not use a retaining wall face as the target for sprinklers or let routine overspray soak an area unnecessarily. If a patch stays wet while nearby soil dries, investigate the source. Record whether it follows irrigation cycles, rainfall or neither. That observation helps distinguish a watering issue from a drainage problem without guessing at the cause.
Finish soil and mulch without changing the design
Adding a fresh layer of mulch feels minor, but repeated additions can change the finished level beside the wall. Before topping up a bed, identify the intended soil line and anything that must remain visible or clear. Avoid burying wall caps, inspection points, outlets or fence components. If you want a deeper planting bed, have the altered arrangement assessed rather than treating extra soil as harmless decoration.
Keep loose mulch where it belongs during watering and rain. A layout that directs it into a path drain or behind a wall opening creates recurring cleaning work. Consider how the bed edge contains the material and how runoff moves across the surface. The edge detail should suit the wall system; drilling into a cap or adding a small barrier without checking can create a new problem while trying to solve a cosmetic one.
Do not pack fine garden soil into visible wall joints to stop it looking untidy. Some systems have particular joint and drainage arrangements. Ask whether the observed gap is normal for the product or evidence of a defect. If soil is washing out, document the location and have the cause investigated. Covering the symptom with more soil makes it harder to see whether the underlying condition is changing.
Make room for inspection and ordinary garden work
Stand where you would normally weed, prune or carry a bag of mulch. Check whether you can reach the back of the bed without climbing on the wall or leaning across a drop. Where the reach is unrealistic, change the planting depth, provide a designed access route or use a different garden layout. Do not assume that future maintenance will be done by someone more agile than the people who actually use the property.
Leave identified drainage access points visible and reachable. A decorative pot may be movable when empty and effectively permanent once filled. Mark a clear working area on the plan rather than relying on a promise to move things later. Keep photographs showing where pipes and access points are before plants grow over them. A labelled photograph often proves more useful than a memory of something being near the second shrub.
Plan safe storage of heavy garden materials during maintenance too. Bags of soil, stacked pavers and large containers are loads that may not have been included in the wall design. Ask where they can be placed rather than using the wall edge as a convenient shelf. If the garden use changes substantially, tell the designer about the new loads before installing them.
Deal with existing trees without damaging support
An established tree near a wall needs a different conversation from a small new planting. Roots may extend beyond the visible trunk, and their relationship to both the ground and structure may be unclear. Do not cut roots simply because they appear to be in the way of a drainage repair. Obtain arborist advice and coordinate it with whoever is assessing the retaining wall.
Tree removal can also require thought about access, stump treatment and the ground afterwards. A stump grinder or excavation proposal may involve machinery or disturbance close to wall components. Tell the tree contractor that a retaining system is present and provide any available drawings. The wall contractor needs to know about proposed tree work too. Separate bookings do not remove the physical interaction between the two jobs.
If a tree is associated with visible wall movement, record what you can see without deciding that the roots are the only cause. Water, changed levels, ageing materials and other loads may also be involved. A useful assessment considers the whole site. Meanwhile, keep people away from a potentially unstable wall and avoid digging to expose roots as a homeowner investigation.
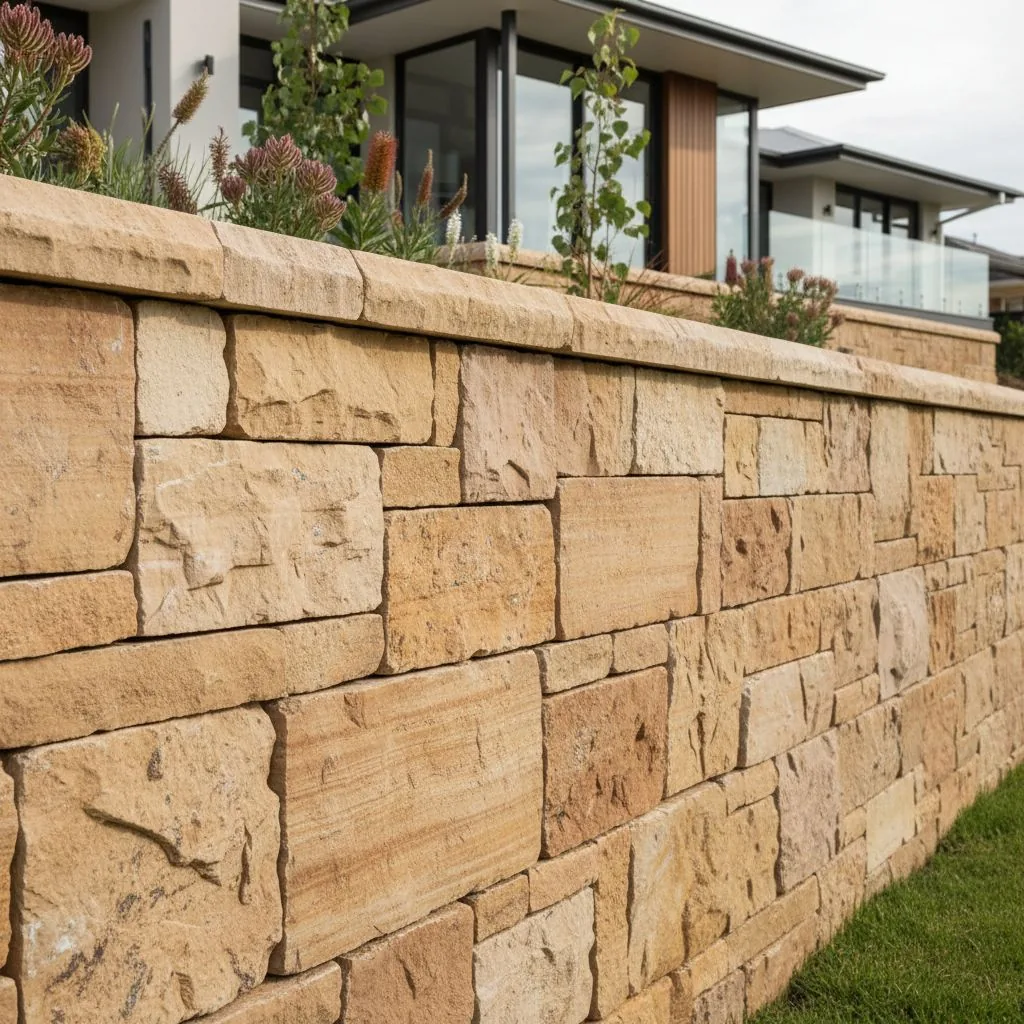
Hypothetical example: refreshing a narrow upper bed
Imagine a Pakenham homeowner replacing an overgrown garden above a masonry wall. The aim is a lower-maintenance bed with an open view of the lawn. The existing shrubs hide an irrigation valve and most of the wall cap. Instead of ordering replacement shrubs immediately, the owner maps the valve, visible drainage points and the available maintenance route, then checks the wall records.
The first planting concept fills the whole bed with spreading shrubs. On the mature-size plan, those plants cover the valve again and force pruning from the lower side. A revised concept uses plants selected for the available space, keeps an access area around the valve and leaves the cap visible. The irrigation route is recorded, with connections placed where a leak can be inspected without disturbing the wall.
During removal, the landscaper finds that old mulch has accumulated against the fence. The team checks the intended finished level before adding anything back. The project becomes a manageable garden refresh instead of another cycle of burying access points. The lesson is to draw the maintained garden, not just the freshly planted garden, and to preserve the wall's working space throughout the refresh.
Common garden mistakes and better alternatives
The first mistake is choosing a plant only because it looks attractive beside a wall in a photograph. Replace that with a mature-size comparison and advice for the actual bed. The second is filling every gap to get an instant finished appearance. Leave the space that plants need to develop and that people need to maintain them, rather than creating a garden that immediately requires heavy pruning.
Another mistake is assuming that more irrigation will compensate for an unsuitable planting position. If a plant needs conditions the bed cannot provide, reconsider the selection. Repeatedly increasing water near a wall may hide the mismatch while creating another issue. Likewise, do not diagnose a failing plant solely from its leaves. Check the watering system and soil conditions with suitable garden advice before changing the entire schedule.
Finally, avoid installing a raised planter, large pot or heavy decorative feature on the retained edge without considering its load and support. A feature that is attractive in isolation may make the wall arrangement harder to maintain. Put the actual object, filled weight information if available, and intended position in the brief. Ask for the wall implications to be checked before the feature is delivered.
Build a garden brief that can be maintained
Include the wall drawings if available, current photographs, preferred garden appearance and a simple plan of mature plant sizes. Mark irrigation controls, drainage access, stable maintenance routes and any structures beside the bed. List existing trees separately because pruning, roots and removal may need specialist input. Tell the landscaper which parts of the wall must remain visible and accessible after planting.
Ask who will confirm the planting zone, who will install the irrigation and who will record hidden components before they are covered. Request care information for the selected plants and the irrigation system. A useful handover identifies what you should observe, how to isolate watering if a leak appears, and whom to contact when an issue involves the wall rather than ordinary gardening.
The checklist below turns your current information into practical next steps. It does not choose plant species or calculate root clearances. Use it to separate decisions that a nursery or landscaper can answer from questions needing the wall designer or an arborist. That makes the site discussion more useful and helps you create a garden that remains accessible as it grows.