Give every level a real purpose
Before drawing wall lines, list what the backyard needs to accommodate. A place for a table, an open lawn, a clothesline, garden beds and a route for bins all need different shapes and access. Rank the uses that matter to your household. A set of evenly spaced terraces may look orderly on paper while leaving no level large enough for the activity you care about most.
Measure the actual objects involved. Include chairs pulled back from a table, the swing of a shed door and the space needed to turn a mower. Mark these as usable areas, then add wall footprints and circulation around them. Avoid counting a narrow planting strip as usable recreation space just because it is technically flat. The aim is to create useful ground, not simply maximise the number of level bands.
For a sloping Pakenham or Officer yard, start the layout from the house connection. Consider where you step outside, where you carry washing and which areas you can see from indoors. A terrace disconnected from those everyday routes may be used less than expected. Put your highest-priority activity where it can be reached conveniently, then arrange the remaining levels around it.
Obtain levels before choosing wall heights
A photograph can make a slope look flatter or steeper than it is. A reliable level survey gives the designer a basis for comparing layouts. Record existing ground, doors, paths, drainage points and neighbouring interfaces through the appropriate survey or design process. Your rough sketch is useful for explaining preferences, but it should not become the final excavation instruction.
Ask for cross-sections through the important parts of the yard. A plan shows where a wall runs; a section shows what happens above and below it. Include the house side, the far boundary and any changes in direction. Check that the proposed finished levels connect sensibly to existing surfaces rather than leaving an unexpected step at a gate or a low spot beside the house.
Do not allocate equal heights to every terrace simply because it makes the drawing easy. Existing levels, intended use and the structural design may favour a different arrangement. Compare the amount of excavation and imported material for each option. Moving a wall a little may change the earthworks substantially, but the decision should also preserve useful space and the intended drainage route.
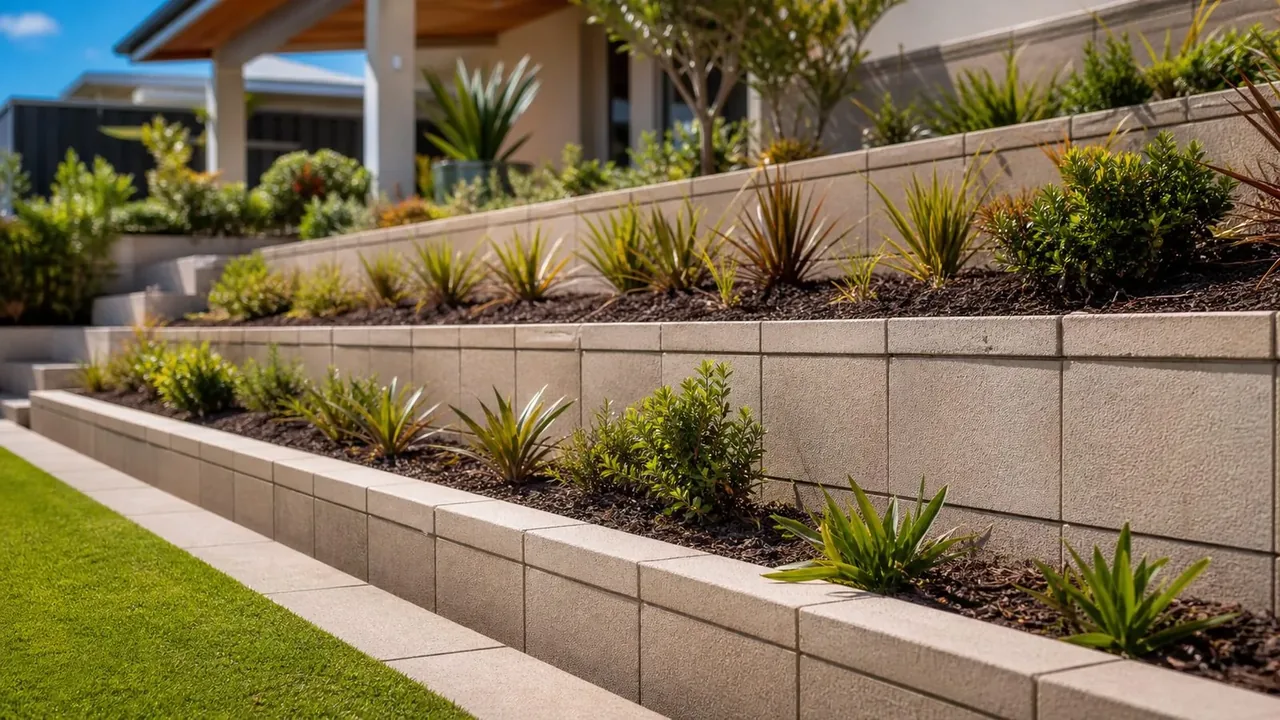
Compare one larger wall with several terraces
One main wall can leave a larger continuous level area, while several terraces divide the change in level into separate spaces. Terraces can provide planting opportunities and reduce the visual impact of a single wall face. They also introduce more edges, more interfaces and more places where access and drainage need coordination. Compare the whole yard rather than treating the number of walls as a measure of simplicity.
An upper wall can affect the loading on a lower wall. Do not assume that two individually modest walls behave as unrelated structures. Their spacing, retained heights, ground conditions and surrounding loads need to be considered together by the designer. A generic sketch found online is not enough to decide when walls are independent. Use the current technical information for the selected system alongside project-specific advice.
Request two or three workable layout options showing actual usable areas. For each, note the number of level changes, the maintenance route, the drainage arrangement and any lost access. A visually attractive option that creates unreachable planting strips may be a poor fit for your household. A simpler arrangement with one generous terrace can be preferable if it supports the way you actually use the garden.
Design the journey between levels
Draw the walking routes before deciding where steps look best. People tend to take the direct route between a door and a destination, even when a decorative path suggests otherwise. Put steps where the movement makes sense and consider how someone carries washing, gardening tools or a tray of food. Include landings and the space where people arrive, rather than drawing steps as a narrow symbol squeezed between walls.
Think about users who find steps difficult and about items that need wheels. A mower, wheelbarrow or mobility aid may need a different route from a pedestrian staircase. If a suitable ramp or step-free route is possible, have it designed as part of the layout. Do not improvise a steep strip of paving afterwards and call the access problem solved.
Also consider visibility and edges. Changes in level can be harder to notice at dusk or when planting grows across a path. Discuss suitable surfaces, lighting and any required edge protection with the designer. These are part of making the yard usable, not finishing details to add after construction. Keep electrical and drainage work coordinated so later installation does not involve cutting through new wall components.
Give water a route through the whole garden
Each terrace needs a surface-water plan, and the wall system needs its own drainage arrangement. Water leaving an upper level should not simply arrive at the back of the next wall without consideration. Ask the designer to show where water is collected, how it moves and where it is intended to discharge. A set of separate drainage notes is less useful than a drawing showing the complete route.
Observe the existing garden after rain from a safe place. Photograph places where water enters, ponds or carries soil. Include roof drainage outlets, paved areas and neighbouring runoff that you can see. These observations do not determine the engineering, but they help the designer understand conditions that may be absent during a dry site visit. Distinguish what you observed from what you suspect happens underground.
Keep future maintenance in view. Can an outlet or inspection point still be reached after plants mature? Is a path drain located where leaves and mulch collect? Will a blocked surface drain send water towards the house or another terrace? Ask how the arrangement deals with foreseeable maintenance needs. Do not choose a finish that hides every access point just to make the drawing appear uncluttered.
Test mowing, gardening and future replacement
Terraced lawns need a practical mower route and enough room to turn. A narrow grass shelf reached only by steps can become a maintenance burden. Compare a planted bed or a different terrace width if the grass area is too awkward to use. Do the test with the actual mower dimensions and the route from its storage place, not with a small symbol representing a lawn mower.
For planting terraces, check how a person reaches the back of the bed. Consider mature plant size, pruning and the route for soil or mulch. A garden that requires people to stand on wall caps to maintain it needs a better plan. Keep heavy decorative items and any future sheds, tanks or paving in the design discussion because these additions may alter the loads and use of the retained ground.
Consider replacement access as well. A wall may eventually need inspection or repair behind a fence, shed or established garden. Retaining a workable route can protect future options even if it slightly changes today's layout. Ask which areas must remain free of permanent structures and record that information in the handover. Otherwise the space may be filled later by someone who never saw the original design.
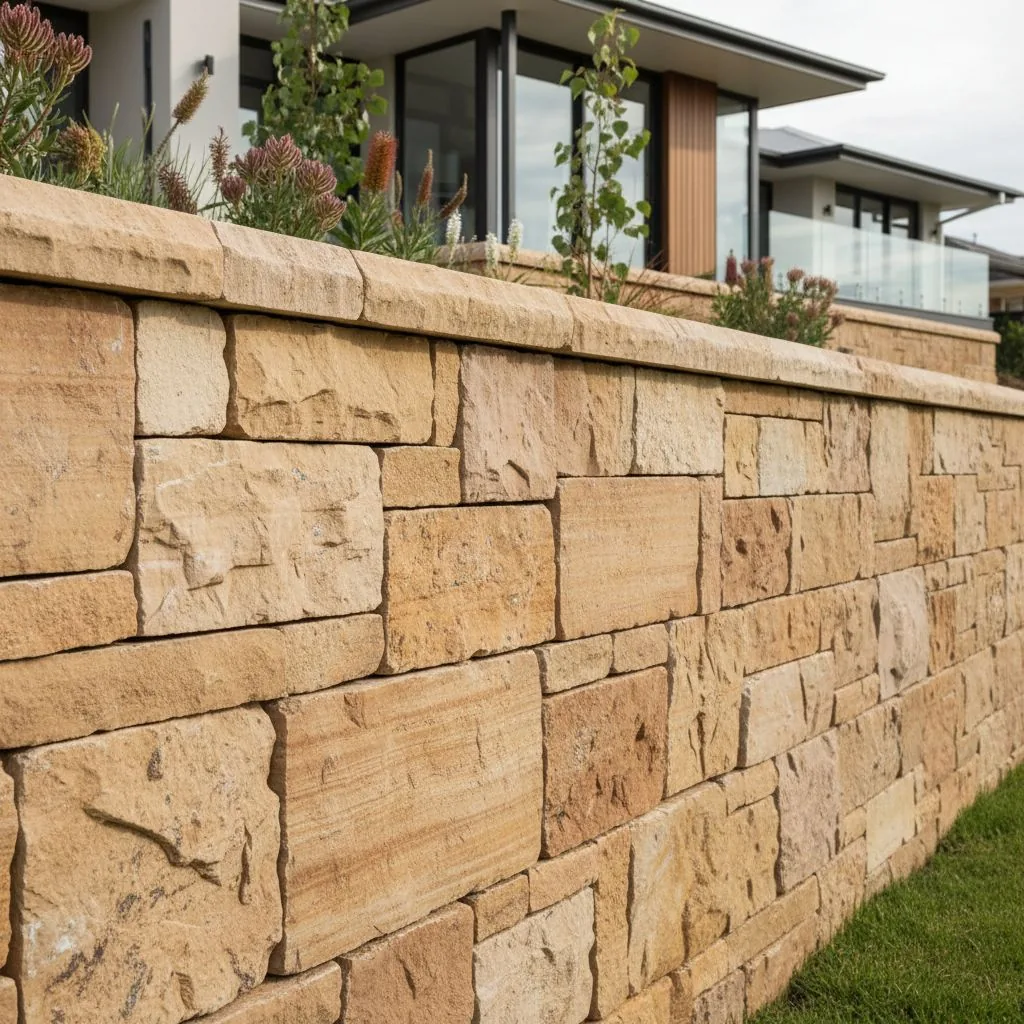
Hypothetical example: lawn or planting terraces
Imagine a Pakenham family that wants a lawn for games, a vegetable garden and easier access to the clothesline. An initial sketch divides the slope into three equal terraces. When the family marks the dimensions of a table and the mower route, the middle terrace is too shallow for either activity. The equal arrangement looks tidy but does not satisfy the brief.
A revised layout gives the lower level a larger continuous lawn and uses a smaller upper area for planting. The clothesline route follows the natural daily movement from the house. The designer compares the retaining arrangement and drainage as a whole, including the relationship between walls. The family evaluates how much usable lawn each option creates after paths and wall footprints are included.
The construction plan also reserves a machinery route until the upper work is complete. Final paving and planting wait until those operations finish. This sequence avoids trapping equipment behind a completed lower terrace. The practical improvement comes from checking daily use and construction access on the same plan, rather than treating landscaping, retaining walls and paths as separate purchases.
Mistakes that create awkward terraces
A common mistake is deciding wall locations from a view at the kitchen window alone. The remedy is to walk the proposed routes and mark actual activity areas. Another is focusing on wall face area while ignoring steps, drainage, access protection and reinstatement. Ask for those interfaces to be included when comparing options, because they determine whether the finished yard can be used as intended.
Do not split a retaining project into smaller walls solely to avoid considering the whole slope. Their interaction remains a design question. Likewise, do not assume that making one terrace lower solves every issue; it may create a poorly placed step or direct surface water towards a building. Evaluate a change across the entire layout instead of accepting an improvement at one spot that causes a problem elsewhere.
Avoid planting before the access and drainage checks are complete. New plants can hide missing inspection points or become obstacles to unfinished work. Confirm the constructed levels against the agreed plan before the garden is filled. If a dimension differs, assess what it means for furniture, mowing and circulation while a correction is still practical, rather than discovering the mismatch after every surface is finished.
Turn your priorities into a layout brief
Prepare a ranked list of uses, approximate object dimensions, photographs and available site plans. Identify the route from the house, the route for maintenance equipment and any step-free access priority. Note planned future structures and areas where existing trees or services may constrain excavation. This gives the designer a reason for each terrace rather than asking them to make a slope look attractive without knowing how it will be used.
Ask for a plan and useful cross-sections that show finished levels, wall footprints, access, steps and drainage together. Request a construction sequence showing how equipment reaches each part and leaves. Where separate trades will install paving or landscaping, confirm that they receive the same levels and interface details. One agreed set of information is more useful than several attractive drawings that do not align.
Use the checklist to identify the decisions still missing from your brief. A clear next step might be obtaining levels, testing mower access or choosing the priority use for the largest terrace. It should not be ordering wall materials before the layout works. Once the site and household requirements are settled, the designer can develop a retaining arrangement suited to the actual yard.