Measure the route, not just the gate
Start at the likely unloading position and follow the route to the far end of the proposed wall. A gate may be the most obvious restriction, but a meter box, downpipe, air conditioner, projecting tap or corner can be the actual bottleneck. Record the clear width at each restriction with the gate open. Photograph your tape measure in place where it is safe to do so. A single number described as side access can hide several different working conditions.
Look upwards as well as sideways. Eaves, pergolas, clotheslines and tree branches can limit the route independently of its ground width. Mark steps, loose paving, drains, slopes and changes in surface. Note whether a wheelbarrow has somewhere to turn at the wall or must reverse along the entire side passage. The question is whether materials and spoil can move repeatedly without damaging the house or creating an unsafe route, not whether an empty machine can squeeze through once.
For a Pakenham or Officer property, send a continuous sequence of photographs from the street through the side passage to the backyard. Include both the proposed wall and the space behind it. This lets a contractor distinguish a genuinely constrained site from one where removing a gate leaf temporarily would solve the problem. Leave final machinery selection to the contractor after checking the full route.
Separate machine access from working room
Getting an excavator into a backyard does not mean it can excavate the wall there. Its operator needs room for movement, attachments, spoil handling and a safe separation from people and structures. A machine parked along the line of a future footing may also block the only exit. Ask where each operation will happen and how the equipment leaves before the final section closes the route.
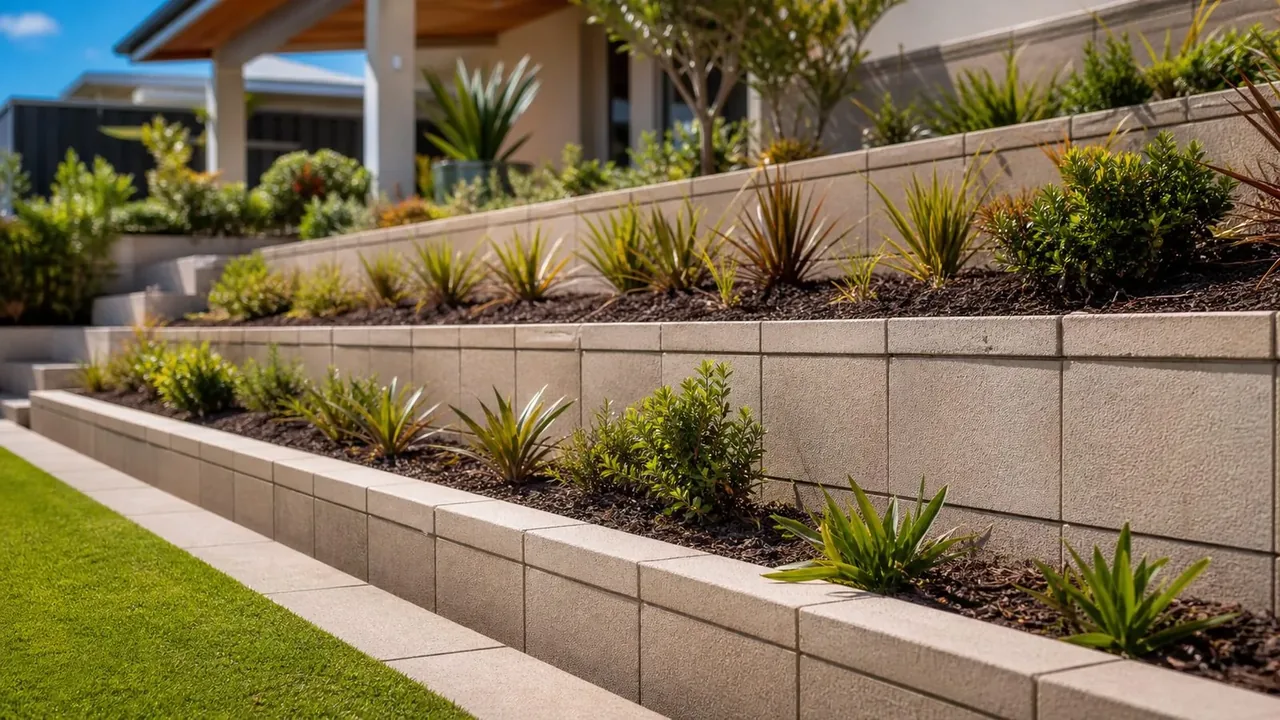
The retained side matters too. A wall built close to a fence may need room behind the face for its particular drainage and structural arrangement. Some wall systems require an area extending well beyond the visible blocks. Treat a product photograph as an appearance reference, not evidence that the system fits a narrow strip of land. Have the actual footprint marked on a plan before committing to the finish.
Do not solve a space problem by asking a contractor to omit drainage or reduce the excavation arbitrarily. Instead, compare a different wall alignment, a different engineered system or a revised yard layout. A small change in the visible garden boundary can sometimes remove a much larger construction difficulty. Record how much usable yard each alternative actually leaves when the complete wall footprint is included.
Choose a handling method for the materials
Long sleepers, posts, bags, concrete and individual blocks have different handling requirements. A route suitable for small loose items may be unsuitable for turning a long member through a right angle. Record the longest awkward turn, including the approach to it. Do not assume that specifying smaller machinery also solves the problem of bringing the permanent wall components to the work area.
Ask the contractor to explain the handling method for each major material, including how it is unloaded and where it waits. Mechanical lifting may still need a suitable operating position outside the backyard. If a lifting proposal relies on reaching over the house or near overhead services, it requires proper planning by the relevant operator. It is not a substitute for a site assessment or a reason to book a delivery first.
Compare whole methods rather than a price per sleeper. Smaller components can make access easier while adding joints, placement work or a different footing arrangement. Larger components can reduce the number of lifts but make every lift more constrained. The best option is the one that can be installed to its design with a workable handling plan. Ask for the access assumption to appear in the scope so both parties are pricing the same method.
Plan the outward journey for excavated soil
Most homeowners picture materials arriving and forget the volume that must leave. Excavation, removed wall components, old concrete and unsuitable fill all need a route out. Ask whether spoil will go directly into a vehicle or be held temporarily on the property. A stockpile in the only access corridor can stop the next stage even when there is enough room to store it elsewhere.
Separate the discussion about soil from the discussion about demolition waste. Timber, steel, concrete and mixed garden rubbish may need different handling and disposal arrangements. Unknown buried material can also change the work. Request a clear allowance or process for dealing with discoveries, rather than a promise that everything under the ground is covered without inspection. Photograph visible old footings and tell the contractor about previous structures you know were there.
Do not nominate the top of the retaining wall as a convenient spoil storage area. The effect of temporary loads belongs in the work plan. Likewise, do not assume a lawn is a safe machinery platform simply because it looks level. The builder should decide suitable storage and travel areas with the wall condition, ground and nearby structures in mind. Your job is to identify the available spaces and any areas that must remain usable.
Protect surfaces and keep a household route
List the surfaces that the work route crosses: driveway, decorative paving, lawn, decking, garage floor or shared path. Take dated photographs before deliveries start. Agree how protection will be installed, maintained and removed, and how the underlying surface will be checked afterwards. A protection proposal should account for the equipment using it and the ground beneath it, rather than being described only as a few boards.
Keep household access separate from machinery wherever possible. Think about rubbish bins, deliveries, pets, school mornings and the person who needs to reach a side door. If the same narrow passage must serve everyone, ask for a clear daily arrangement for closing and reopening it. An access plan that works only while every resident stays indoors is unlikely to survive the actual building period.
Also identify what cannot be relocated casually. Service meters, drainage fittings and outdoor equipment are not just obstacles to remove. Before You Dig Australia provides underground infrastructure information and a separate resource for overhead lines. Obtain the relevant information and have the contractor determine any further locating or protection needed. Do not dig exploratory holes yourself to make the plan look more complete.
Compare temporary fence removal with other routes
A removable gate or fence panel may provide a better route, but record exactly what would be removed and reinstated. Check whether posts, garden edging or established planting remain in the opening. A wider visible gap can still be blocked at ground level by foundations. Confirm that temporary removal will not destabilise an existing wall or leave a hazardous drop unprotected.
If a proposed route crosses someone else's property, make access a separate arrangement before it becomes a construction assumption. Discuss dates, working hours, protection, security, photographs and reinstatement. Do not order the job on the basis that a neighbour will probably agree. The contractor needs a route that is actually available, and you need to understand the alternative if that route becomes unavailable.
Consider the end of the job as carefully as the start. New planting, posts or paving can close the route before the last machine leaves. Ask whether final fence work and landscaping must wait until the heavy operations are finished. Put that sequence into the programme. It is much easier to postpone a finishing task than to dismantle a completed fence because the equipment is trapped behind it.
Hypothetical example: a rear wall behind an occupied home
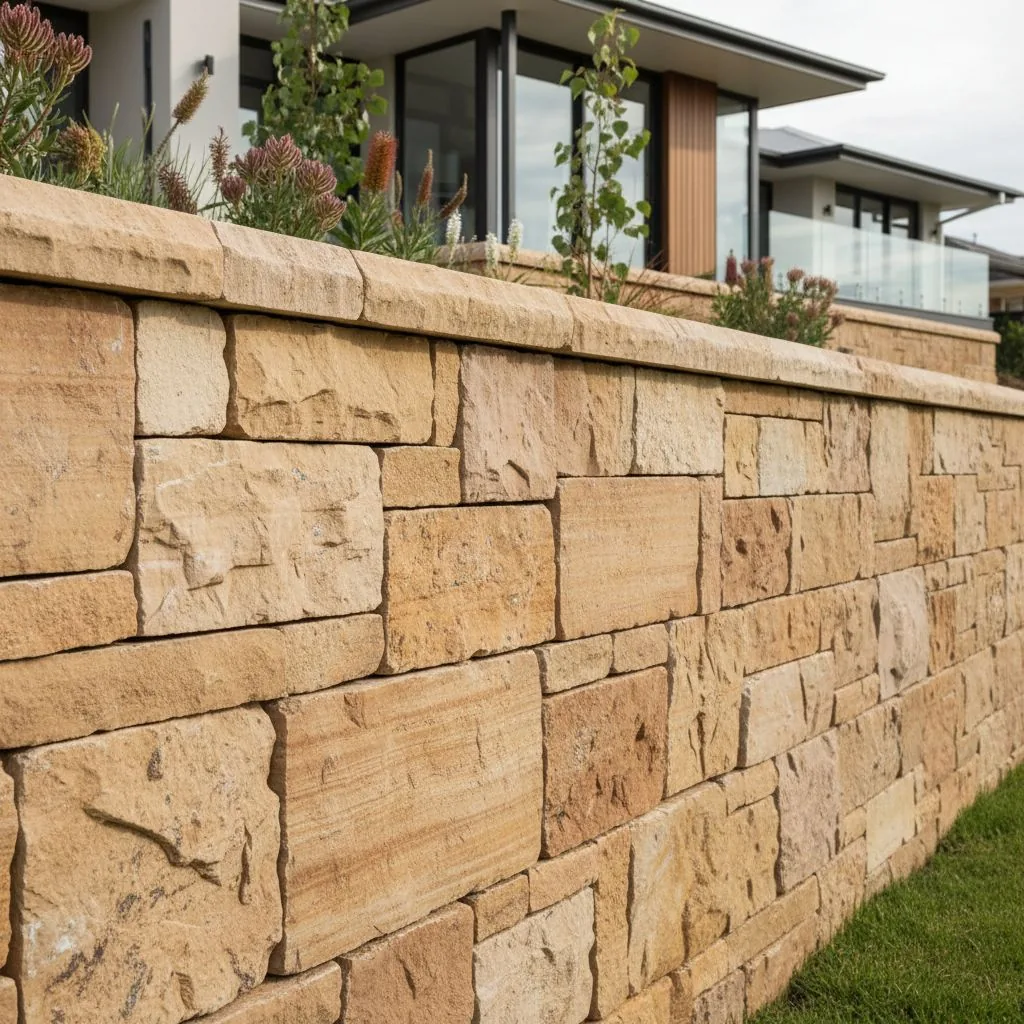
Imagine an Officer household replacing a rear garden wall while keeping the house occupied. The side gate looks wide enough, but the passage turns sharply beside an air conditioner. At the rear, a shed leaves no turning space. The first useful decision is to measure the turn and map the shed, not to choose the cheapest wall material from a catalogue.
One option uses smaller components carried through the existing route. Another removes an agreed fence section and uses a different approach. A third shifts the wall to create working room but gives up part of the garden. Each option should show handling, spoil removal, protection and reinstatement. Comparing only the face area of the wall would miss the differences that actually determine feasibility.
The household also wants new paving along the side. Completing that paving first would expose the finished surface to the wall works. The revised sequence leaves the access strip unfinished until the wall is complete, then installs the paving with its drainage falls coordinated. This does not guarantee a cheaper project, but it avoids paying for a finished surface that becomes the construction route immediately afterwards.
Common access mistakes and their remedies
The first mistake is sending a close photograph of the wall without any route photographs. Remedy it with a street-to-wall sequence and a simple sketch showing turns. The second is quoting gate width between posts while forgetting the open gate, latch and hinges reduce the clear opening. Measure the usable gap. Label measurements as approximate until the contractor checks them rather than quietly treating them as machine clearances.
Another mistake is scheduling deliveries before the storage and lifting plan is settled. The remedy is to confirm unloading positions and material order with the contractor first. A full driveway of sleepers can prevent an excavator arriving. A delivery truck that cannot unload where expected may also leave materials a long way from the useful working position. Tell the contractor about street parking restrictions or difficult turning conditions you have observed.
Finally, do not accept an access solution that depends on unplanned excavation beside a house or removing support from an existing wall. Stop and obtain the necessary design advice. Access logistics should adapt to the structural requirements. They should never become a reason to improvise the retaining system once the machinery is already on site.
What to include in your access brief
Prepare a short pack containing the complete route photographs, pinch-point measurements, wall location, visible services, storage possibilities and household access needs. Add a list of items you are willing to remove temporarily and items that must stay. If an existing wall is visibly moving, say so at the start because that changes what can safely happen around it during planning.
Ask for an explicit statement of the assumed access method, spoil destination, surface protection and reinstatement. Identify who arranges any temporary fence work and who coordinates separate paving or landscaping contractors. These details make quotations more comparable without turning you into the site manager. They also give the builder a chance to flag a route that needs a visit before pricing can be meaningful.
Use the checklist below to turn the gaps in your information into a short action list. Bring it to a site discussion along with your photographs. A useful outcome is a feasible construction route and sequence, with the wall design still doing its required job. Choosing the finish can then proceed without hiding an unresolved access problem underneath it.